You’ve finished your 200-hour Yoga Teacher Training (YTT). You have the certificate, the passion, and the playlist. But as you stand at the front of the room, you notice something: your students aren't moving the way you expected. Their shoulders are hunched in Downward Dog, their lower backs are arching in Plank, and your verbal …
You’ve finished your 200-hour Yoga Teacher Training (YTT). You have the certificate, the passion, and the playlist. But as you stand at the front of the room, you notice something: your students aren’t moving the way you expected. Their shoulders are hunched in Downward Dog, their lower backs are arching in Plank, and your verbal cues—the ones you memorized so carefully—seem to be falling on deaf ears.
If you feel like you’re struggling to “see” and “correct” alignment in real-time, you aren’t alone. In fact, this is the most common hurdle for new graduates.
At ADDA YOGA Bali, we operate as both a holistic center and a professional school. We’ve observed that while most 200-hour programs provide a solid foundation in philosophy and basic asana, they often leave a gap between knowing anatomy and applying it in a fast-paced Vinyasa flow.
In this guide, we’ll break down why alignment feels so difficult for new teachers and the specific “LEGO Method” approach we use to bridge the gap from student to expert.
1. The “Echo Chamber” Effect
The biggest reason new teachers struggle is that they often teach by “scripting” rather than “observing.” During your training, you likely heard cues like “tuck your tailbone” or “draw your navel to spine” hundreds of times.
The Problem: You start repeating these cues automatically. But what happens when a student already has a flat lumbar spine? Telling them to “tuck” might actually lead to injury.
The Fix: We teach our trainees to stop looking at the “pose” and start looking at the foundation. Alignment starts from the ground up. If the feet or hands are misplaced, no amount of “core engagement” cues will fix the posture.
2. The Information Overload of a Yoga Intensive
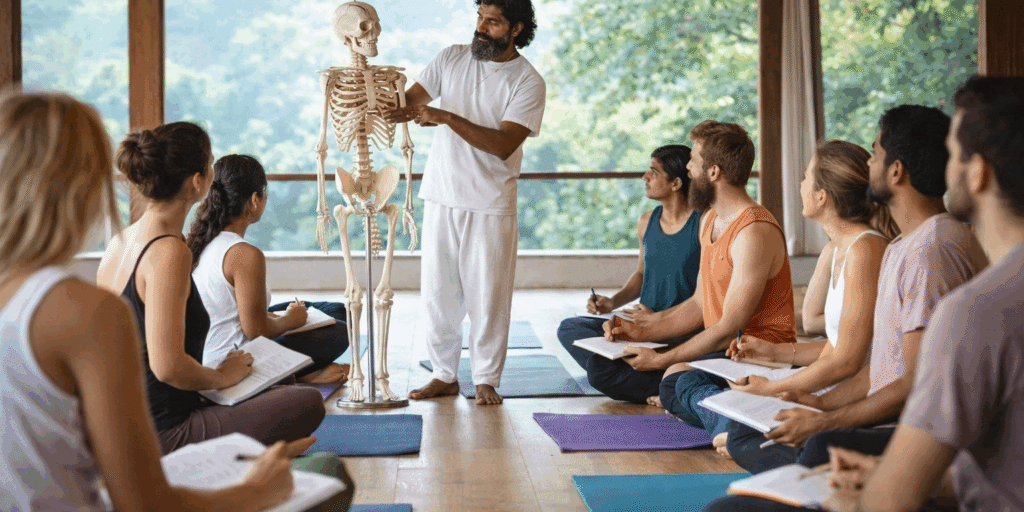
A Yoga Teacher Training is a “yoga intensive” physical and mental load. You are absorbing Sanskrit, philosophy, sequencing, and anatomy all at once. By the time you get to alignment, your brain is often in “storage mode” rather than “analytical mode.”
The Problem: You know the names of the bones, but you haven’t yet connected them to the biomechanics of a transition.
The Fix: We break down the Vinyasa into “functional groups.” Instead of memorizing 100 poses, we look at the 5 primary movements of the spine and the 4 main joint actions. When you understand the mechanics, you can spot a misalignment in any pose, even if it’s one you’ve never seen before.
3. Proprioception vs. Verbal Cues
As a teacher, you are translating a physical sensation into words. But your students have different levels of proprioception — the body’s ability to sense its position in space.
The Problem: You say “square your hips,” but the student has no idea where their hips are in relation to the back of the mat.
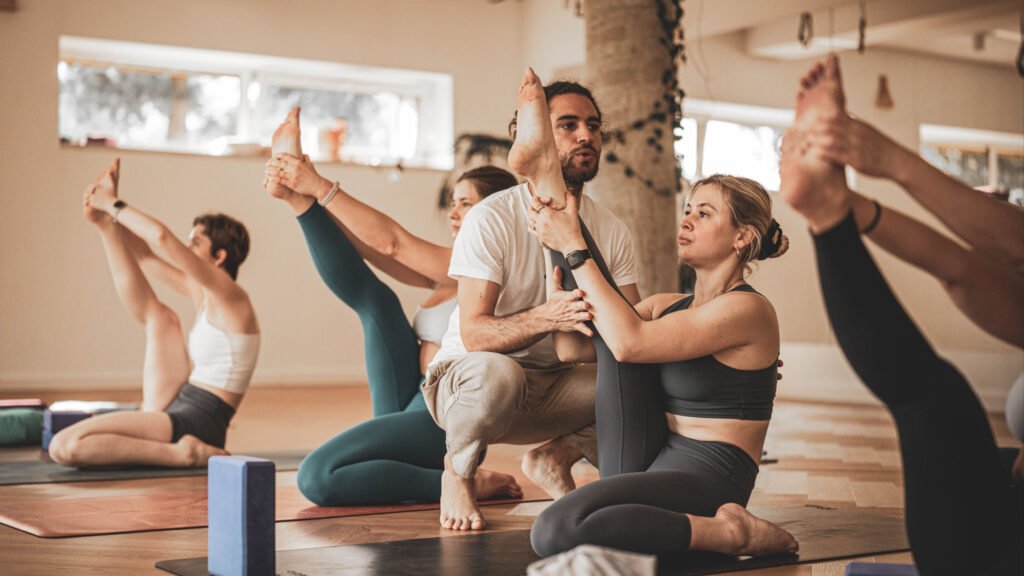
The Help: We prioritize Environmental Feedback. Instead of just using words, we teach our students to use props—blocks, the wall, or even their own hands—to create a physical “boundary” that the student can feel. This shifts the learning from the ears to the nervous system.
4. The “Mirroring” Trap
New teachers often spend so much energy trying to remember their sequence and mirror the class that they stop actually seeing the people in front of them.
The Problem: You are teaching to the “ghost” of the sequence in your head, not the actual bodies in the room.
The Fix: At ADDA YOGA Bali, we use a structured “Checklist System.”
- Check the Base: Are the hands/feet grounded?
- Check the Joint Safety: Are the knees tracking? Are the elbows hyper-extended?
- Check the Breath: Is the student’s breath restricted? (This is often the first sign of poor alignment).
Common Vinyasa Alignment “Snafus” We See
Even seasoned practitioners can fall into these habits. Here is how we address the “Big Three” in our school:
The “Swayback” Plank
Many students dump weight into their lower back. Instead of the generic “core” cue, we focus on Protracting the Scapula. By pushing the floor away and filling the space between the shoulder blades, the core naturally engages to support the spine.
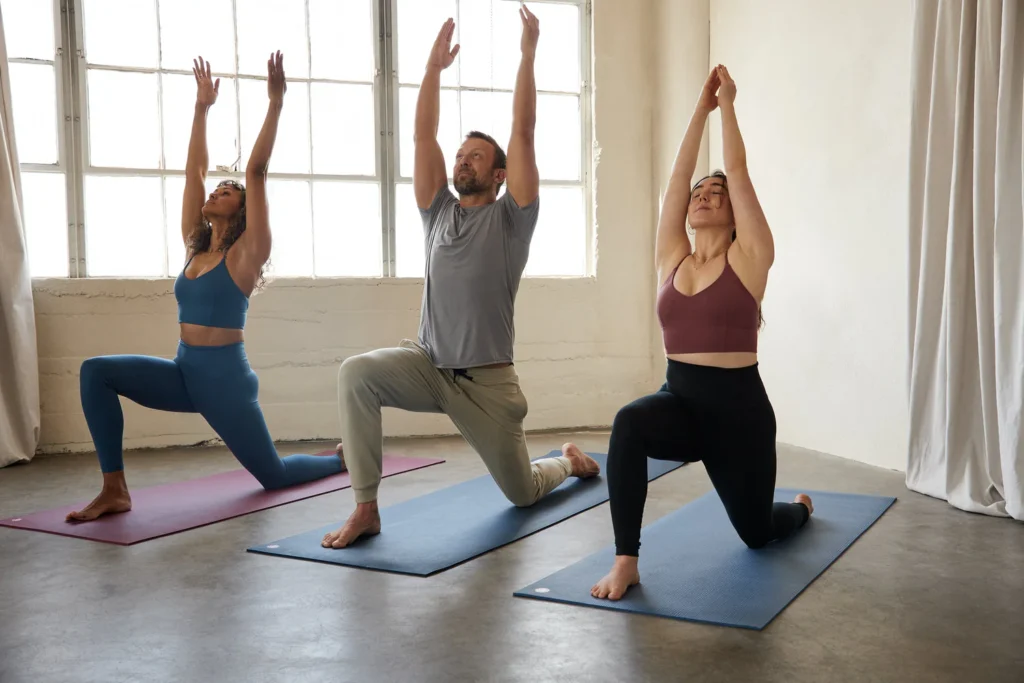
The “Collapsing” Warrior II
If the front knee is falling inward, it puts immense strain on the ACL. We teach teachers to cue the Outer Hip. By engaging the gluteus medius, the knee stays stacked over the ankle, creating a stable, safe foundation.
The “Wrist-Heavy” Downward Dog
If a student complains of wrist pain, it’s usually because they aren’t using Hasta Bandha (Hand Lock). We show our trainees how to look for the “white knuckles”—a sign that the weight is being pressed into the finger pads and knuckles, protecting the delicate carpal bones.
Why a Holistic Approach Matters

Alignment isn’t just about “looking right.” It’s about energy flow. In our Breathwork and Sound Healing sessions, we often discuss how a blocked physical posture leads to a blocked energetic state. When the body is in alignment, the Prana(life force) can move freely, which is the ultimate goal of any Hatha or Kundalini practice.
Frequently Asked Questions (FAQ)
❓
Why do I keep giving cues that my students ignore?
It’s likely your cues are too complex or “anatomical” for a general class. Try using Directional Cues (e.g., “move your shin toward the front of the room”) rather than Internal Cues (e.g., “internally rotate your femur”). Directional cues are easier for the brain to process during a flow.
🧘
Is there a “perfect” alignment for every body?
No. Every skeletal structure is different. At our school, we teach Functional Alignment. We look for “Safety” and “Intention” rather than a “Perfect Shape.” If a student’s heels don’t touch the floor in Downward Dog, that isn’t “bad” alignment—it’s just their unique anatomy.
👁️
How can I get better at seeing misalignments quickly?
Practice “Silent Observation.” Go to a class as a student but spend the first 5 minutes of each pose just watching the room. Don’t judge; just notice the different ways people’s bodies arrange themselves in space.
📘
Do I need to know the Sanskrit names to teach alignment?
While knowing Sanskrit strengthens your authority and connects you to the lineage, it isn’t necessary for clear alignment instruction. In fact, using plain, clear language is often better for student safety. You can always introduce the Sanskrit name (Asana) once the foundation is set.
🤝
How do I correct a student without making them feel bad?
We use the “Global First” rule. Give the correction to the whole room first. If the student doesn’t move, walk near them and offer a quiet, personalized cue. If they still don’t get it, use a prop or a gentle assist—but only if they have consented to touch.
Refine Your Teaching at ADDA YOGA Bali
The transition from a 200-hour grad to a master teacher is a journey of a thousand breaths. Whether you are looking to sharpen your skills through a 300-hour Advanced Training or simply want to experience high-quality Vinyasa and Yin in a supportive community, we are here to help.
Our center in Canggu is more than a studio; it is a laboratory for movement and a sanctuary for the soul.